This page outlines the full installation requirements for curtain wall systems, including safety measures, quality standards, procedures, and construction scheduling guidelines.

All workers must follow site-specific safety attire rules. Helmets must be properly secured, sandals are prohibited, and safety footwear is required on scaffolding. Shorts are not allowed. When working at heights over 2 meters, a safety harness must be worn and anchored above the worker.
Before work begins, all personnel must undergo structured safety training, including documentation, sign-in, and visual records. Three levels of safety education are required: legal regulations, site-specific safety management, and technical training for individual job roles.
Safety meetings must be conducted daily, weekly, and monthly. These include morning briefings, weekly reviews, and monthly summaries. Attendance must be recorded, and photos of each meeting must be submitted along with written reports.
Regular inspections must cover scaffolding stability, wall openings, electrical cables, and fire hazards. Tools must not be left near unsafe areas. Power cables should be suspended, flammable materials stored properly, and all equipment must comply with safety codes.

A comprehensive construction organization plan outlines workforce allocation, machinery usage, construction methods, material procurement, and project timeline. These elements are coordinated to ensure smooth execution, maintain quality control, and meet schedule requirements from start to finish.
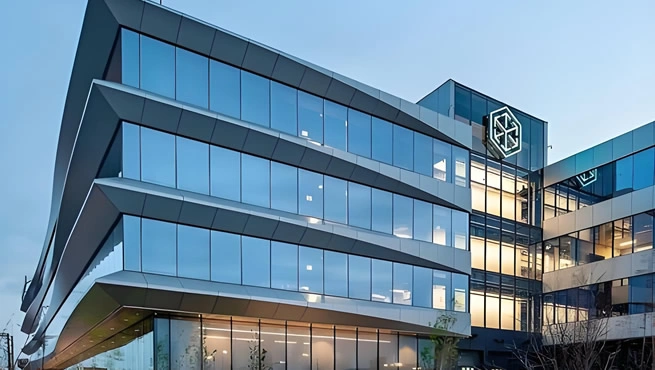
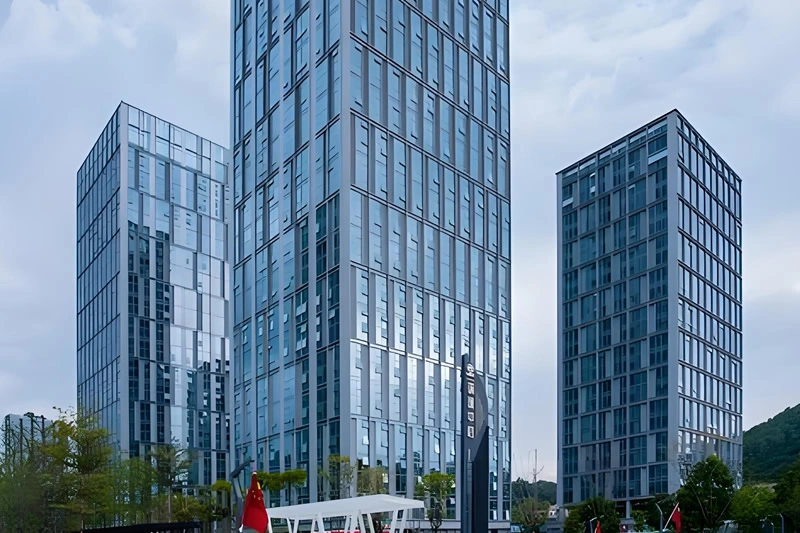
Accurate and complete drawings are essential to ensure precision in curtain wall installation. This includes layout and marking drawings, embedded part installation diagrams, fabrication drawings, and visual renderings—each reviewed and approved before on-site execution begins.
Before installation, a three-party site handover must be conducted involving the general contractor, construction team, and our company. Structural dimensions are re-verified against the drawings, and reference lines—horizontal, vertical, and system layout—are marked to guide accurate installation.
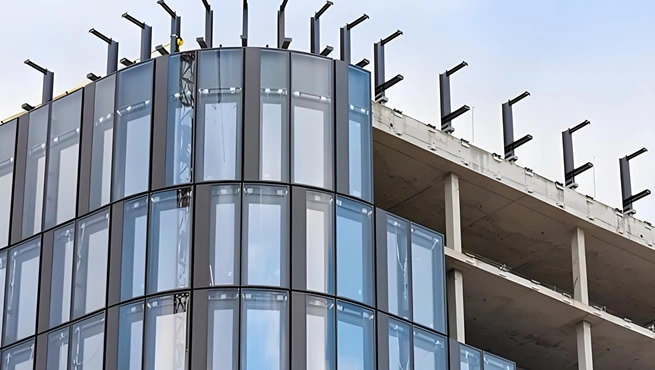
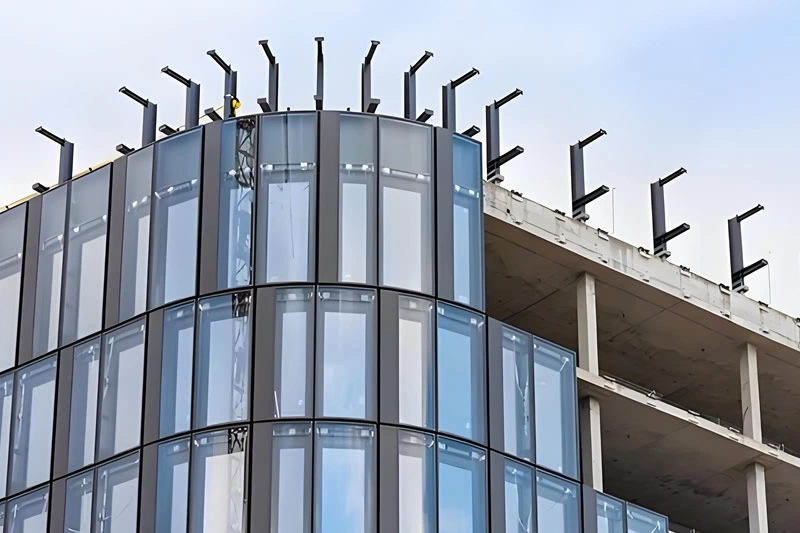
Embedded parts may be pre-installed or added later depending on project type. For renovations, surfaces must be cleaned before installation. Each location is measured and confirmed to ensure accuracy. Secure fixing is required, and the installation must follow structural drawings to support load-bearing and system alignment.

Chemical anchors must be installed to a minimum depth of 110mm in a clean, dry hole. Drilling should be slow and steady—never hammered. Anchors must be upright and corrected if tilted. Rebar conflicts require alternate holes. A 100% inspection is performed to verify each anchor’s strength and placement.

Frames are positioned using precise axis markings. Screws and welding points must be secured, aligned, and corrosion-protected. Diagonal deviations should not exceed 3mm. Operable window areas must be clearly defined. Fireproof layers, sealants, gaskets, and lightning protection are added as required for structural safety and durability.

Panels are pre-sorted and placed at designated locations before installation. Surfaces are cleaned thoroughly. Double-sided tape must be applied precisely—seamless and hidden. Pressure plates are tightly fastened, glass orientation is verified, and glass handling procedures are followed to avoid scratches or breakage during installation.

Surfaces are cleaned, and backer rods are inserted 4mm below the joint. Masking tape is applied for clean edges. Sealant is applied and smoothed to ensure water resistance and visual quality. The final finish must be flush at the sides and recessed slightly at the center.
Double-sided tape is recessed 3mm on the internal ends. Sealant is added with a minimum thickness of 3mm. Covers are snapped in carefully—no direct hammering allowed. Sealant dimensions are controlled, and final alignment and appearance are checked for straightness, cleanliness, and finish quality.
Window frames must not exceed 2mm diagonal deviation. Hinges and limit stays must be installed symmetrically. Screws must be of the correct type and fully tightened. Handles are aligned based on the window type, and operation must be smooth with no leaks or misalignment.
After installation, all panels and aluminum profiles are cleaned without water. Labels, protective films, and adhesives are removed. The worksite is organized and all debris is cleared, leaving a safe, clean environment ready for inspection and handover.